
Operations · 10 min read
Onboarding a new provider: an enrollment checklist
What to collect, in what order, so a new hire can see insured patients as soon as possible.
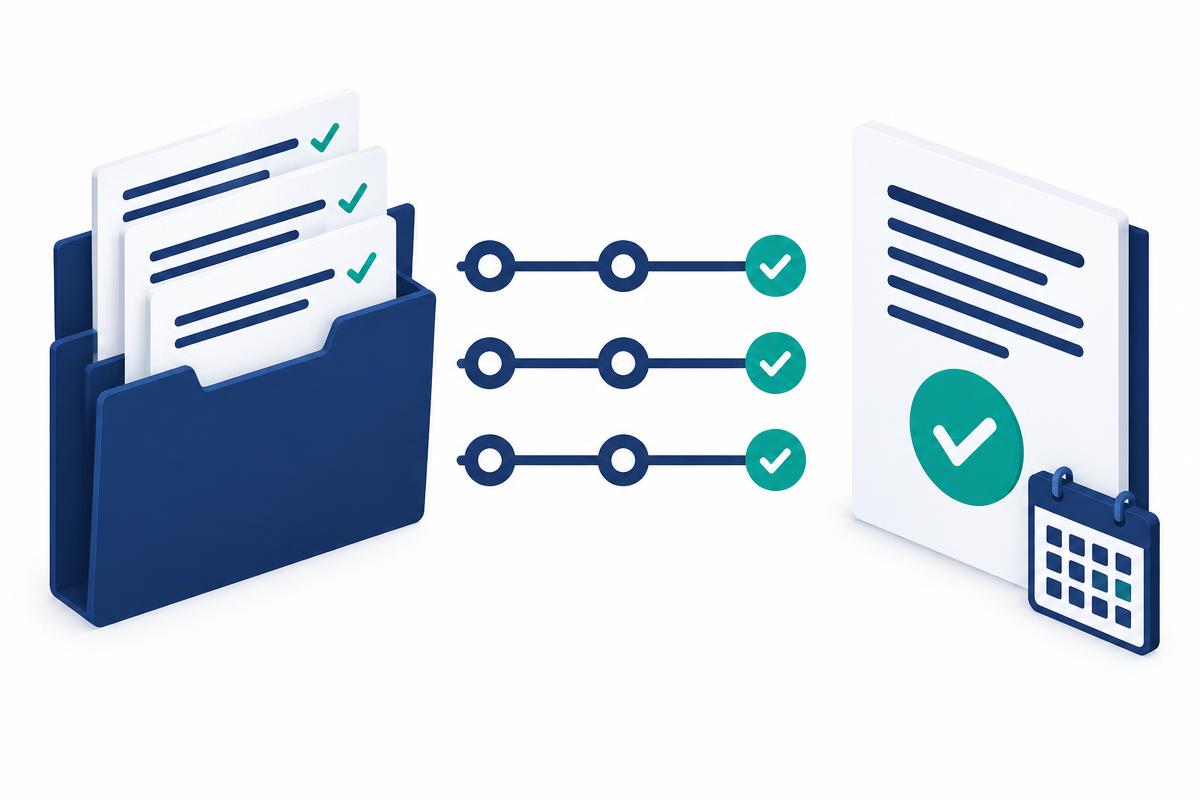
Why onboarding order matters
A new provider is one of the largest investments a practice makes, and enrollment determines how quickly that investment starts paying back. Because most commercial payers do not backdate effective dates, every week enrollment starts earlier is a week of insured visits recovered.
The most common mistake is waiting for the provider's first day to begin. By then, a 90 to 150 day commercial timeline means months of limited billing. The best practices start enrollment the day the offer is signed, and many start collecting documents during the interview process.
Before the start date: provider documents
Collect everything in one request, with a clear deadline, so nothing is asked for twice.
- Signed offer letter and planned start date
- Active state license(s), plus any pending license applications
- DEA registration and state controlled substance registration where applicable
- Individual NPI with correct taxonomy
- Current malpractice certificate of insurance, and prior carriers with claims history
- Board certification, or board eligibility status and exam dates
- Diplomas, residency and fellowship certificates
- Current CV with month and year for every position
- Five-year work history with written explanations for any gap over six months
- Hospital privileges or a covering arrangement, if required by payers
- CAQH ProView login or permission to create a profile
- Government-issued photo ID and, where required, Social Security card
- Signed release and attestation forms for each payer
Practice information
The group side of the application is just as important and is often where errors hide.
- Group Type 2 NPI and tax ID, with the legal name exactly as the IRS lists it
- IRS confirmation letter for the tax ID
- Service locations exactly as listed on NPPES, including suite numbers
- Office hours, phone numbers and accessibility details for each location
- W-9 and any existing payer contracts or group agreements
- Medicare PTAN and state Medicaid IDs for the group
- Electronic funds transfer details and a voided check or bank letter
- List of payers your patients use most, ranked by volume
- Authorized official or delegated official contact for signatures
Weeks 1 to 2: build the foundation
Before submitting a single application, make sure the provider's core records are correct. This is the step that prevents most returned applications.
- Verify the license is active and the name matches every other record.
- Update NPPES with the new practice location and correct taxonomy.
- Create or update the CAQH profile, upload documents, authorize plans and attest.
- Confirm panel status and application requirements with each target payer.
- Decide the order of payers based on patient volume and known timelines.
Weeks 2 to 4: submit in parallel
Submit Medicare, Medicaid and commercial applications at the same time wherever the payer's process allows it. Running payers one after another can add months; running them in parallel can save 45 to 60 days.
Some sequencing is unavoidable. Medicaid managed care plans often wait for the state Medicaid ID, and some commercial plans require the Medicare enrollment first for certain products. Map those dependencies at the start and submit everything else immediately.
Weeks 4 onward: follow up relentlessly
Once applications are submitted, the work shifts to follow-up. Applications that nobody checks on tend to sit, and requests for information can go unanswered for weeks if they arrive in an unmonitored inbox or portal.
- Log every submission date, reference number and payer contact.
- Check status every 7 to 14 days, and record each call or portal check.
- Answer requests for information within days, never at the deadline.
- Escalate files that exceed the payer's stated timeline.
- Keep the provider informed so there are no surprises about start schedules.
At approval: confirm, don't assume
Approval letters are not always complete. Before scheduling insured patients, confirm the details your billing team will rely on.
- Participation effective date with each payer.
- Provider ID or PTAN, and the group or contract the provider is linked to.
- Network or product lines the provider is participating in.
- Fee schedule and any specialty-specific billing requirements.
- Directory listing details, so patients can find the provider.
Scheduling while enrollment is pending
Use the waiting period wisely. Book the new provider with patients covered by payers that are already approved, with self-pay patients who have agreed to pricing in advance, and on activities that do not depend on billing, such as training, shadowing and workflow setup.
Do not bill a pending provider's services under another clinician's number unless a payer explicitly allows it in writing. The short-term revenue is not worth the compliance risk.
After onboarding: keep it current
Enrollment does not end at approval. Set up a calendar for every date that can interrupt billing: license renewals, DEA renewals, malpractice renewals, CAQH re-attestation every 120 days, commercial re-credentialing cycles and Medicare and Medicaid revalidation.
Keep one master record per provider with every ID, effective date and expiry date. When the next hire arrives, that record becomes the template, and onboarding gets faster each time.
Then start immediately
Every week enrollment starts earlier is a week of insured visits recovered. Begin the moment the offer is signed, collect everything once, fix the records first and submit in parallel. That simple sequence is the difference between a provider who is fully billable in their first quarter and one who is still waiting.
This guide is general information, not legal or billing advice. Payer and state rules change; confirm current requirements with each payer.